"Develop a passion for learning. If you do, you will never cease to grow." - Anthony J. D'Angelo

Category: EdTech (Page 2 of 3)

1st Round of Presentations!


Image result for presentationImage result for presentation

So today was the start of our group tech inquiry project presentations. I was really impressed with what people had put together and will definitely be taking some time to look into some of the resources.

Stop Motion

Stop Motion Love GIF by Mochimochiland

Keiro started us off with a presentation about stop motion animation. This is honestly something I have never given much thought to, certainly not in the classroom, but maybe it is something I need to consider. Keiro was so enthusiastic about stop motion and I can see that involving students in a stop motion video could be really engaging and exciting. I think it would be a good connection to ADST. Like Keiro said, stop motion is time consuming so I doubt that it is something that I would be doing without the students, but I like the idea of becoming more capable myself so that I could potentially aide students in projects.

I will take a look at some of the resources Keiro mentioned, like the waldportfolio website and the education microsoft website.


Google Geographic Products

Connor, Anne, Eliza and Kelly did a wonderful job explaining the various features of google maps and google earth. I was not aware of all the features and how well they would apply in the classroom. Of course, we have to consider FIPPA if we want students to be individually working on these applications, but many schools in Victoria give out  consent forms automatically for students to have Google suite accounts. Connor, Anne, Eliza and Kelly gave a lot of great classroom application ideas, so I will link in their presentation here when I have access to it. In the mean time, I found a few resources on my own:


Ten Ways to Use Google Earth in Your Classroom – It’s Not Just for Social Studies


10 Ways to Use Google Maps in the Classroom


DIGITAL LITERACY

Taylor, Brie and Katrina looked at the question “what is digital Literacy and how do we teach it in the modern classroom?”

This was a particularly relevant questions and they did a wonderful job walking use through what digital literacy is, strategies and best practices, pros and cons of tech use, how to talk to parents about digital literacy and also why we should consider digital literacy in relation to sex ed. There was heaps of information, so I won’t go through it all now. Instead, I will link their slides when I have access.

Brie shared some very useful resources for our own education and also to share with students:

She mentioned that the following video would be good for middle students, but fast so we might want to slow it down or take bits:

She also suggested the MediaSmarts website for Canadian specific content. She did mention that they had some slightly outdated lesson plans but that they could be easily updated and used.

Another thing that Brie mentioned was citizen science projects. I think this is a great way to get students to apply their learning in meaningful ways. I found a list of citizen science projects on the National Geographic website.

Katrina shared some good websites that could be excellent resources for tweens or teens. One website was Scarletteen and an app to look into is Okayso.


ON TO THE 336 CONTENT

Michael shared a quick google doc hack for us. Instead of going into drive to open a new doc or slides, you can simply type in  doc.new or slides.new etc. into the browser bar.

The we talked about how to integrate tech into the classroom, focusing on the SAMR model.

SUBSTITUTION:  tech as a direct tool substitute with no functional change

AUGMENT: tech acts as a direct tool; substitute with functional improvement

MODIFICATION: tech allows for significant task redesign

REDEFINITION: tech allows for the creation of new tasks, previously inconceivable

A good website to check out is: https://www.schrockguide.net/samr.html


Visiting an Inquiry Classroom

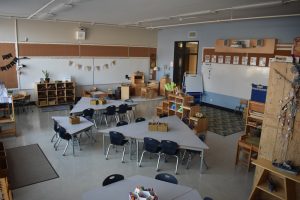
Although I am familiar with inquiry as a method of teaching, our visit to George Jay has given me a number of resources that I want to explore further explore. Rebecca was kind enough to provide us with a link to her presentation along with examples and sites and ideas. A few of the major ideas that I took away from our visit were:

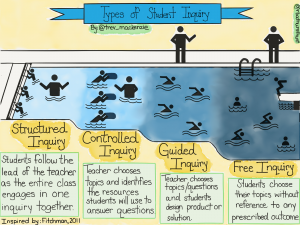
a) inquiry can and absolutely be scaffolded. As shown in the top pool photo illustration, there are various levels of inquiry and students need to feel confident and comfortable at each step as they work toward a free inquiry, or the benefits will be negated.

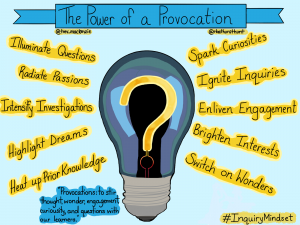
b) provocations are key, not only to the start of an inquiry, but also throughout the process to maintain student engagement and encourage depth of though.

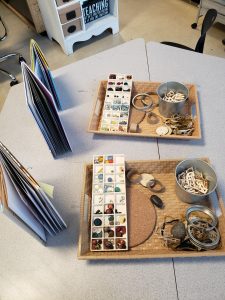
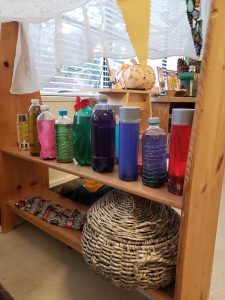
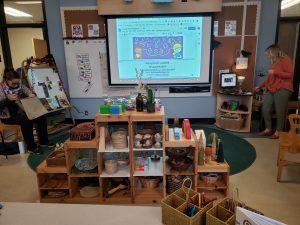
Rebecca’s classroom was full of provocations that were not related to any specific inquiry, but simply available to incite curiosity and wonders. She mentioned the need to value questions and model being inquisitive to help foster an environment conducive to inquiry.

I was especially interested in her work with Padlet as it relates to my seminar inquiry question. This is not a program that I was familiar with before, but I can see it having a really positive impact on collaboration and connection making at all age ranges. I hope to have some time to get familiar with Padlet.

Here is a video that outlines how Padlet can be used by teachers.

I would also like to explore Canva a bit more to see if it would be a valuable tool for me as a student and potentially as a resource for my future students.


All that PowerPoint Has to Offer!

Image result for happy gifFile:Microsoft Office PowerPoint (2018–present).svg


So today we looked mainly at PowerPoint as a means to create graphics. Although I did learn about a few new features, I am quite comfortable with PowerPoint because I used it for most of my lessons when I taught in Indonesia. However, the version that I used was quite old. So I decided to explore some of the other new features in PowerPoint and now I am super excited! I have only explored a few features, but this is what I have discovered so far.

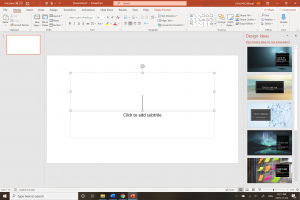
The first feature is automatic, but I love it. It’s the design options that come up on the right hand side of the screen as you start to work on your slides. You can see it in the image below. I love this feature because it does tend to show you a number of unique options and usually with themes that are not listed in the designs.

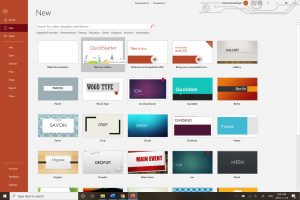
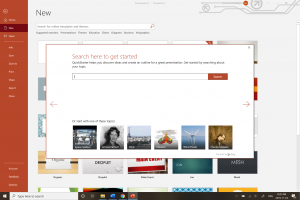
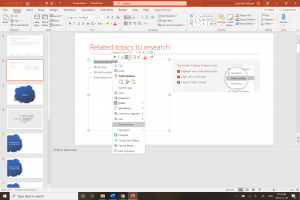
The next feature blew me away. If you choose the Quick Starter when you open PowerPoint, you can search for your presentation topic and get a PowerPoint layout that matches your topic. It gives you a general outline of subtopics that could be explored and some slides will even include information and notes. It is sort of a bare bones presentation, but could really help a student who struggled with organisational skills and needed a bit more scaffolding for essays, reports or presentations. It does appear that most of the information comes from Wikipedia, so if you were to use this with an older student, you could challenge them to find similar information from more academically recognized sources. The pictures below show my steps when I used Quick Starter to access a slide about rubrics. It wasn’t exactly the type of rubrics I was looking for, but still had some relation to the PowerPoint I had just made for our 407 Assessment class.


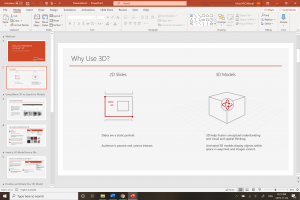
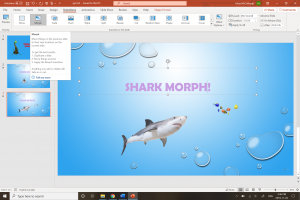
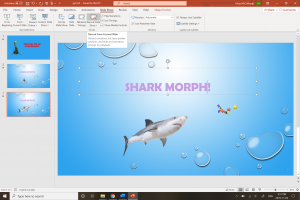
The next few features I discovered at about the same time. First I discovered that if you have a subscription to PowerPoint you can access all these free 3D images to insert into your PowerPoint. Some of these images are animated and just oh so much fun! PowerPoint also has a build in instructional presentation about how to use the 3d animations. Following this presentation, I also discovered that my duplicating a slide, moving around desired items and then pressing ‘morph’ in the transitions menu, you can automatically create an animation that moves all the items you moved around in one click.

Just image the interactive lessons that could be created with these new features! I’m so excited!

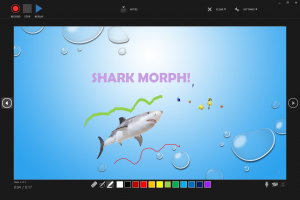
I then found that you can record your slides. While recording your slides, you can also record your voice, draw on the slides and erase what you have drawn. Later, when you go to the slide show, your voice and any drawings you did on the slide will play automatically.

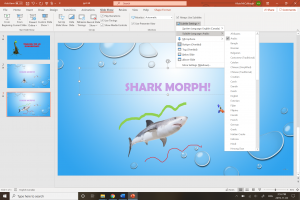
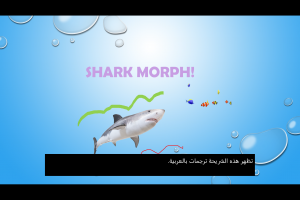
Finally, I discovered that you can put subtitles on your slide. Unfortunately, you cannot record these subtitles; they only work live. However, I tested them in both English and Indonesian and found them to be pretty accurate. What a great option if you had ELL students in your class. Here’s what it looks like.

Needless to say, I can’t wait to do some more exploring and see what other features PowerPoint has included! I realise that not all classrooms will have easy access to PowerPoint presentations and that not all lessons lend well to being presented this way, but it’s so great to have this as an option.

One last think I found was the Microsoft accessibility checker. While trying to find a way to record with subtitles (not possible apparently) I found myself on this website. It has some great tips and outlines methods for making Microsoft documents and presentations more accessible for all:)


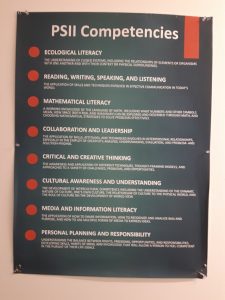
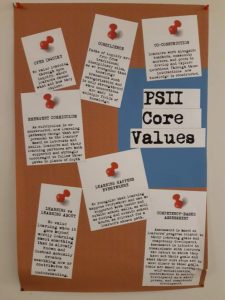
Pacific School of Innovation and Inquiry Visit

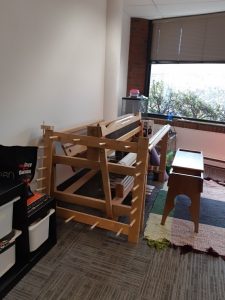
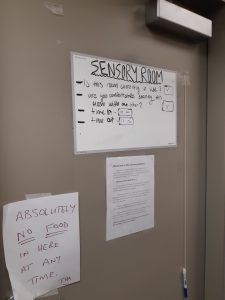
    Our visit to Pacific School of Innovation and Inquiry was inspiring. Although we had all watched Jeff Hopkins’ TedTalk, Education if people mattered, visiting the school and seeing how all the students went about their day was eye-opening. I was surprised that the space was so small and that the “classrooms” were so tiny, but after Jeff explained that classes only really occur as specialized workshops for students who need it, it made a lot more sense. Most students were just hanging out in their common room working on their own projects but also socializing in small amounts with their friends. The amount of autonomy given to these high school students was incredible, they seemed to thrive in it.
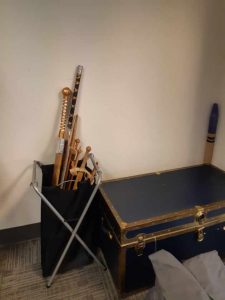


Although I am familiar with inquiry, PSII’s style was next level! I have to admit I was pretty jealous of the students and the level of agency that they had developed through this process.

In his talk, Jeff mentioned a number of good resources for inquiry based teaching. Here are a few that I hope to look into:

An education that fits your child.


Kathleen Gregory

https://www.trevormackenzie.com

“We shape our tools and thereafter, our tools shape us.” –  John Culkin

Jesse Miller’s talk today gave us a lot to think about. He highlighted the need for us as future educators to (a) be responsible and conscious in our use of technology and (b) be ready to have open conversation about technology and technology use with students. This all through the lens that technology is not going away. On his website, Jesse says: “THE CONNECTED SOCIETY IS THE NEW NORMAL, WE KNOW IT, OUR CHILDREN EXPECT IT. WE HAVE CREATED THE REALITY.”
Instead of fear mongering, we need to discuss, inform and model responsible technology use for our students. This led to the idea of digital citizenship. I think that this is a really important concept. I found this website   website with some good resources for teaching digital citizenship.

When talking about internet bullying, Jesse also mentioned Erase BC. I looked it up and found that not only does it have online portals where students can report issues, it also has an online support system for student and provides help to schools. The site also encourages students to share positive, caring stories from their community using #erase.

I was really shocked to hear how video gaming has become something of a professional sport. I found this documentary style video about it on YouTube.


Jesse also has a Ted Talk that I haven’t yet watched, but will hopefully find time for soon.

Pompom Explosion

So in my search to find textures and colours that my son, Noah, would enjoy on the busy board I am making him, I decided to try a sensory activity with pompoms. I thought that a way to add texture to the busy board might be to simply glue some pompoms on in a shape, a little like they did in this video below.

Before settling on this idea though, I wanted to see if Noah even liked pompoms. He had never seen or played with them before. My mom, a kindergarten teacher, just happens to have bins and bins of them in her classroom and in her basement. I then read about pompom bin sensory activities on websites like Busy Toddler: Making it to naps one activity at a time . My mom had also read about the pompom bin activity and used it in her classroom. Although Noah was only 11 months at the time, most people said this activity would be good for children a year up and we thought Noah was close enough.

The following video gives you an idea of how this activity can be set up and what it might look like.


I also found other videos like the one below that showed various activities young children could do with pompoms.

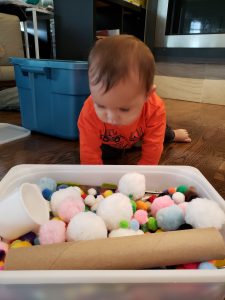
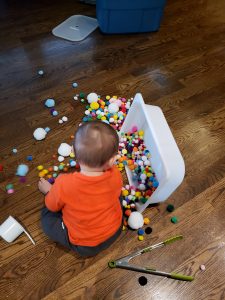
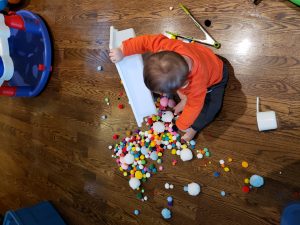
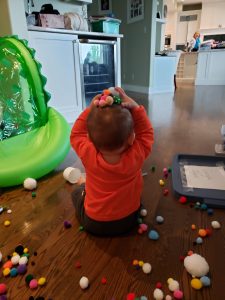
Notice how the children are so focused and neat in their attempts to take part in these activities. This was not the case with Noah. we set up a nice little sensory bin with pompoms, a measuring cup, tongs and a paper towel roll. First, it took some serious convincing to get Noah to even look at the bin. He was FAR more interested in everything other than the bin. Once he finally did make it over, the tongs seemed to be the only aspect of interest. In the end, Noah did what he does best: he dumped the bin and made as big of a mess as he could!


Although he might seem to be engaged in playing with the pompom’s in the pictures, that wasn’t really the case. He was more interested in the bin.  There were pompoms of all different colours and sizes, but they didn’t even seem to make it on his radar. So I think I can conclude that pompoms just aren’t his thing! I may still try gluing some pompoms down and see if he might have a different reaction when they are held in place, but for the moment, pompoms are not on the blue prints for Noah’s busy board!

Creative Workshop


Today’s workshop on  iMovie, Audacity and Screencastify  was a useful learning experience for me. I will have to remember to look over the workshop instructions again later on. Students in my classes have always amazed me with their ability to create movies, but I never knew how to do it myself. Although I think creating movies on iMovie may be a little to time intensive for an everyday lesson, iMovie could be great for documenting or for creating examples.  I also think it is really useful as a teacher to understand how applictions like iMovie work so that I can provide support to students who may want to use it in the future.

I also really liked the Audacity part of the workshop. My colleagues and I have taught a podcast unit in middle school before and never knew how to use this application. Although I am pretty sure some of the students used it, again it is good to have an idea of how it works.

I didn’t get a chance to try Screencastify yet, but I imagine it could be a very useful teaching tool. It could be used to show examples during class or videos could be given to students so that they could watch it on their own and at their own pace, all feeding into a universal design.

I had some fun playing around with video and audio from my son Noah after this workshop! Check out what I created!

Open Education


Wow!

Today’s class on open resources was so helpful. Maybe I have been living under a rock, but I

actually had no idea that there was anything other than copyright. Not only did this class open up a world of resources that would be easily accessible and guilt-free to use, but it also showed me that we have to knowingly label our work as creative commons in order to contribute.


When I was teaching in Indonesia, I used a lot of internet resources to get information, inspiration or sometimes just to add a picture to my work. I would say I pulled at least two things of the internet per day. Teachers are always trying to rework and improve their lessons and one way to do that is by building on or taking from other sources. It is simply natural that teachers should have a network to freely share their work.

There were so many resources mentioned in class today and I don’t think I could possibly remember them all, so instead, here is a link back to the course website. I hope to be

able to explore some of these sources later. I have already made a point of changing my search settings on google to find pictures and information that can be freely used!


I would also suggest visiting Rich McCue’s website as he has some really interesting links related to open resources. One of the links is to a documentary called RIP a Remix Manifesto. It was made by a Vancouver Islander and is about copyright. It makes some really interesting points and is definitely worth a watch.


Free Inquiry Pondering


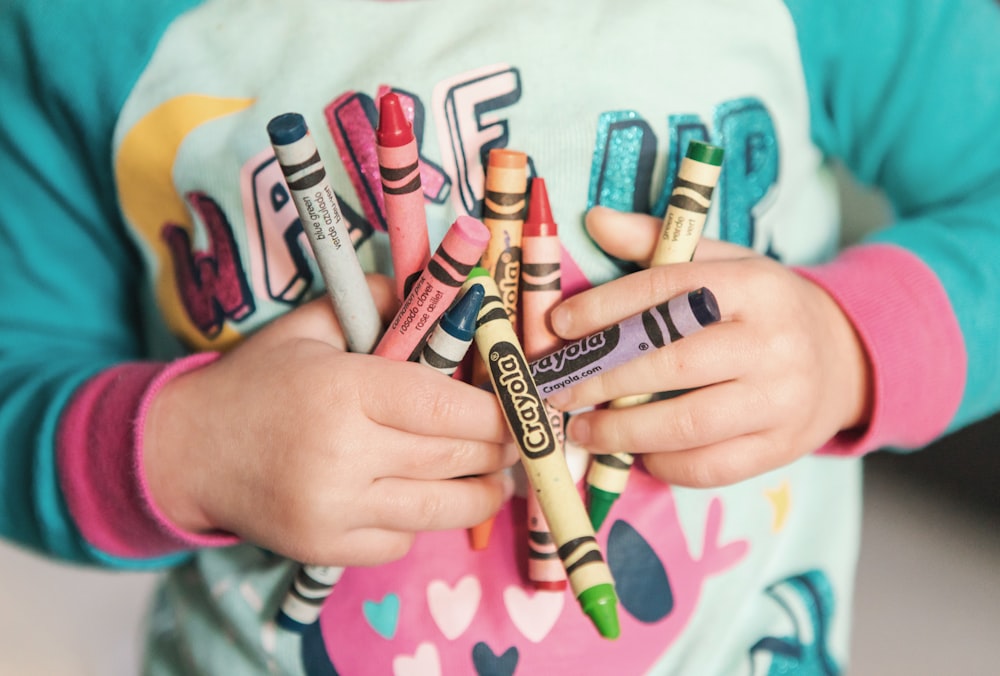
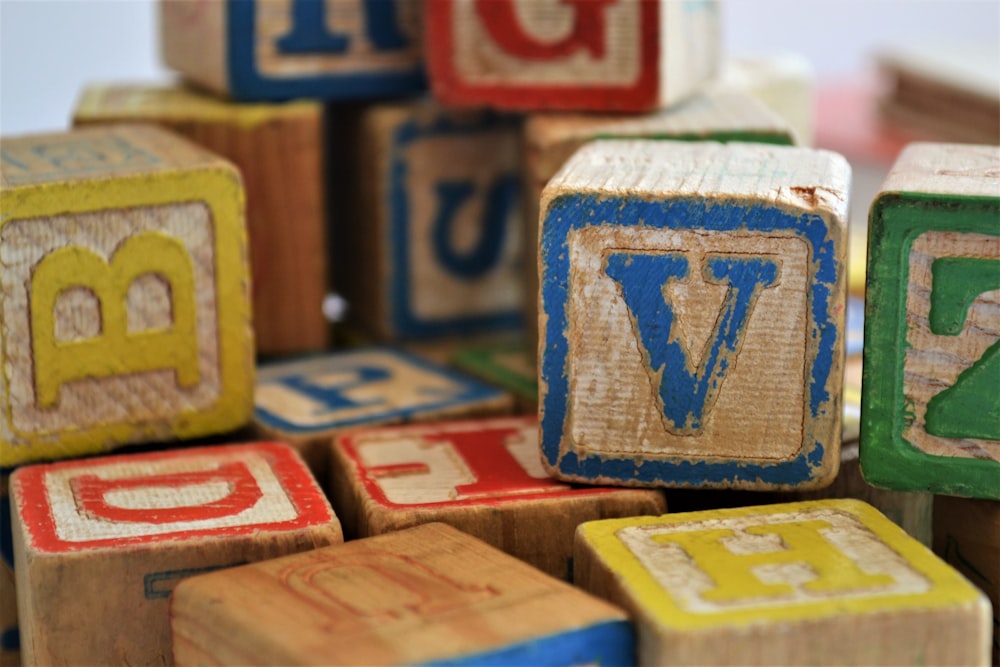
selective focus photo of baby playing activity cubetoddler holding assorted-color Crayola lotassorted-color alphabet cube toy lot

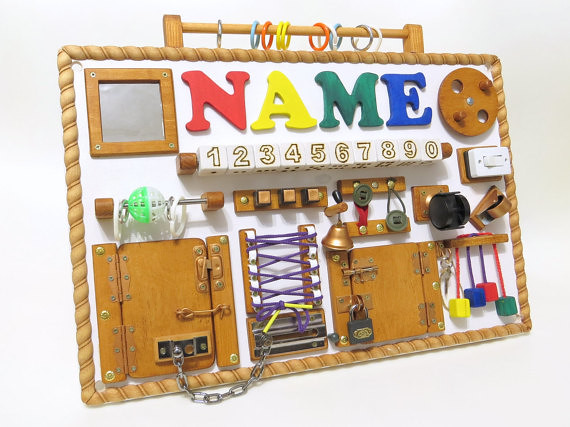
I have contemplated a multitude of ideas for the free inquiry project, including learning American Sign Language, learning how to knit, creating a community garden amongst others. However, with the amount of coursework that has begun to pile up in the Elementary PDPP, I have decided that I would prefer to pursue an inquiry that will allow me to spend purposeful time with my 11-month-old son, Noah. With that in mind, I have begun to play around with ideas related to providing sensory activities for Noah that are engaging and fun while also helping to foster his development. I would like to search out individual sensory activities or experiences that Noah and I can do together and then culminate what I learn into one final product. I plan to do some research before deciding what that final product might be, but at the moment I am considering a customized busy board for Noah based on the experiences that were most engaging or productive for him. Creating a busy board may also require me to seek help or information regarding the actual construction or building of the board.


Image result for busy board


Questions related to sensory activities and sensory or busy boards:

  • What colours or colour schemes encourage interaction?
  • What colours are typically used?
  • How many colours are ideal?
  • What textures are used on typical sensory or busy boards?
  • How many textures should be incorporated on a sensory board?
  • What is the optimal number?
  • Which textures interest Noah?How can sounds be incorporated?
  • What materials are generally used?
  • What materials are safe for a toddler?
  • What materials or items are educational or generally thought to foster development?
  • What might be the optimal size for a busy board?
  • Is there any way to incorporate taste into a sensory board?
  • How can I increase the longevity of my busy board so that Noah can use it for a number of months?

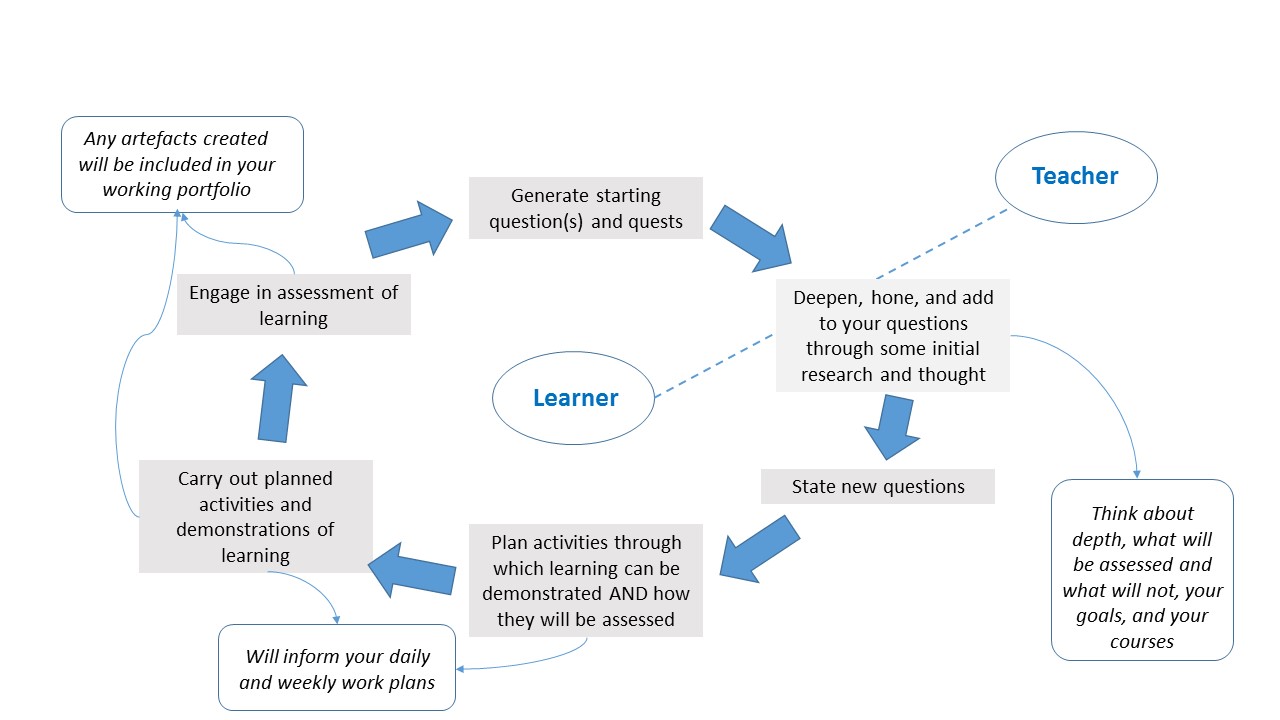
I’m going to use the diagram below from the Pacific School of Innovation and Inquiry as a guide for the process of my inquiry. At the moment I am at the ‘generate starting questions and quests.

Restructuring the Education System

The movies ‘Most Likely to Succeed’ and the TED talk by Jeff Hopkins reminded me of the animation of  Sir Ken Robinson’s TED talk on ‘Changing Education Paradigms’.


I was shown this video while taking part in an International Baccalaureate (IB) Middle Year Program (MYP) conference. IB is a program that aims to institutionalize  concept based teaching with a focus on student inquiry and interdisciplinary approaches to learning. The program also discourages standardized tests and conventional class set ups in favor of project based assessments. It’s not a perfect program, but it provided me with my first look at concept based teaching and this has been a big influence in the formation of my personal pedagogy.

Re-structuring the entire education system will not happen over night. Teachers. parents and students are all used to standardized classes and testing. We are used to going to class and being spoon-fed information. Change is uncomfortable, especially when that change must have a cascading effect. For instance, if we change how K-12 students learn and are assessed, universities will also have to restructure their admission procedures and potentially their own teaching set ups.

Scaling it down a bit though, the application of conceptual based teaching can be easily accomplished in today’s classrooms, especially with the new version of the BC curriculum which includes ‘Big Ideas’ and the skill sets categorized as ‘Core Competencies’.

Here is a video I found that gives a good idea of how conceptual based teaching and learning can be applied in the classroom.


« Older posts Newer posts »

© 2025 Alicia's Portfolio

Theme by Anders NorenUp ↑